Blog – Left Sidebar

Beat Insomnia With This DIY Magnesium Balm

by May 23, 2017

Magnesium is a co-factor in more than 300 enzyme systems, and an important mineral to the body’s regular functions. Are you getting enough? Studies say that you aren’t! Recent studies show that nearly 20% of American adults only consume half of the magnesium that they require daily, and less than 30% consume the Recommended Daily Allowance.

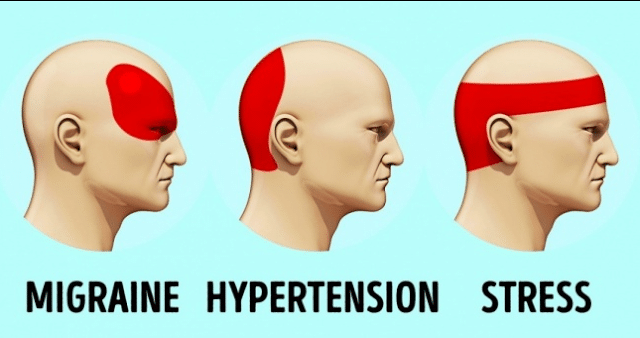
Magnesium plays an important role in the human body, playing a vital role in protein synthesis, muscle and nerve function, blood sugar levels and blood pressure regulation. It has also been proven effective for several physical and mental ailments including anxiety, headaches, restlessness, muscle cramps, irritability, seizures and, you guessed it, insomnia!

magnesium, natural healing, insomnia, cure for insomnia

While magnesium can be found in green leafy vegetables, such as spinach, legumes, nuts, seeds and whole grains, these food sources are not longer as nutrient rich as they once were. Industrial farming practices have caused a significant amount of depletion of the minerals in our soils, and as a result it has caused a decrease in the levels found in our foods. Adding fuel to the fire, our body only absorbs approximately 30-40% of the magnesium that we consume!

How do you know if you are dealing with a magnesium deficiency? Watch for these early signs:

  • Loss of appetite
  • Nausea
  • Vomiting
  • Fatigue
  • Weakness
  • Numbness and tingling
  • Muscle contractions and cramps
  • Seizures
  • Personality changes
  • Abnormal heart rhythms

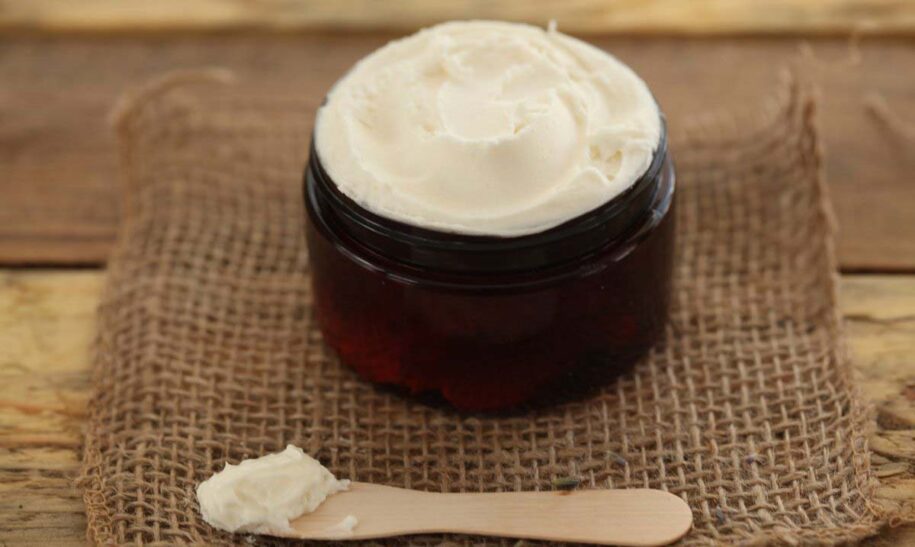
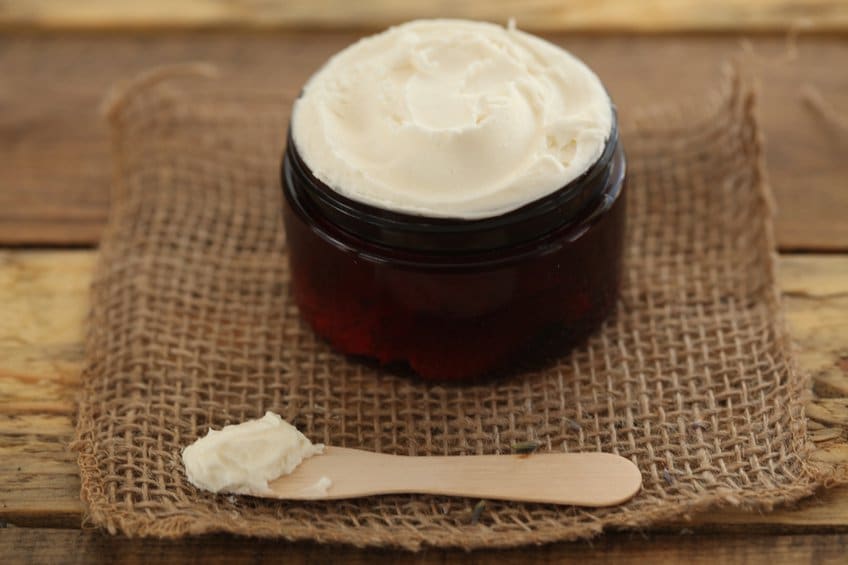
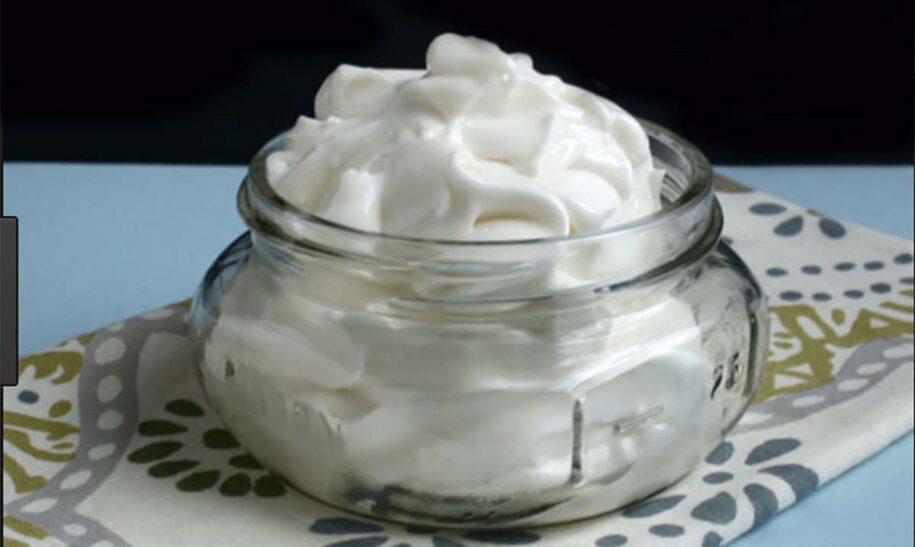
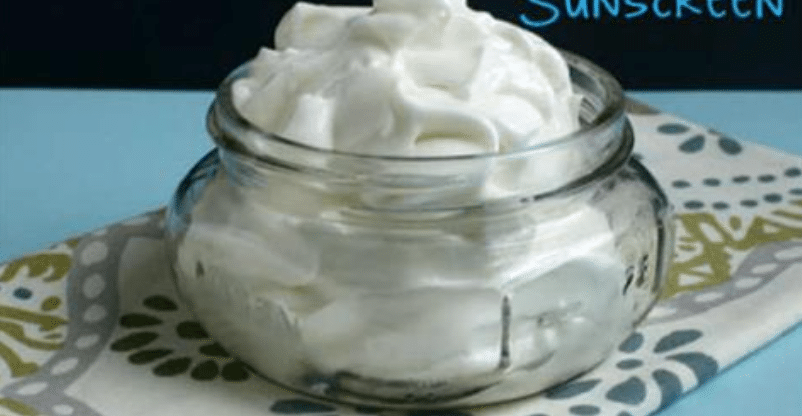
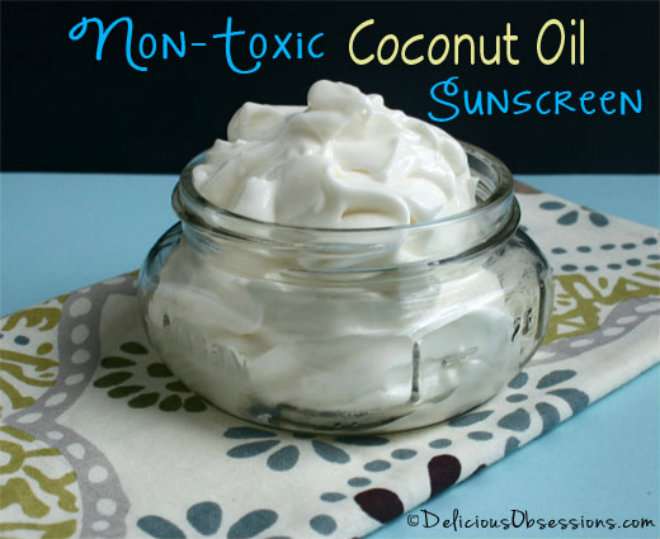
While there are a number of supplements available on the market, this magnesium lotion can be made quickly and easily at home. If you are currently battling insomnia, try this recipe!

DIY Magnesium Lotion
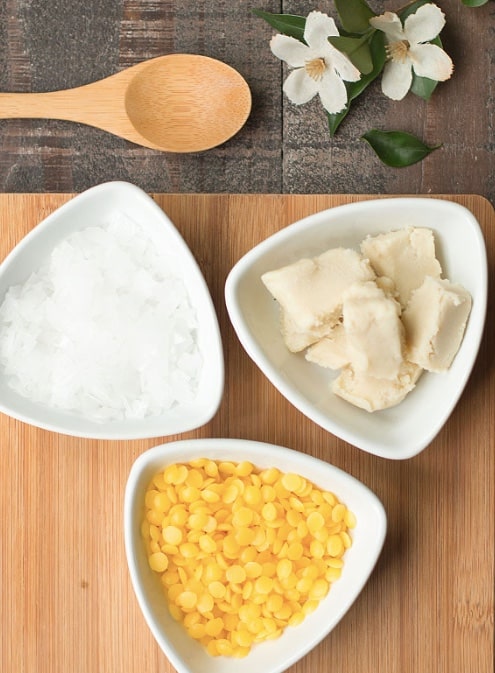
magnesium, natural healing, insomnia, cure for insomnia

You Will Need:

  • Highly concentrated magnesium chloride flakes
  • Unrefined virgin coconut oil
  • Beeswax pellets
  • Unrefined Shea butter
  • Boiling water
  • Quart-sized mason jars, or something similar to store your magnesium balm
  • A measuring cup
  • Mixing bowls
  • Immersion blender
  • Essential oils to scent your lotion (if desired)

magnesium, natural healing, insomnia, cure for insomnia

Directions:

  1. Place approximately half a cup of magnesium flakes into a bowl. Bring ½ cup of water to a boil. Measure out 3 Tbsp of boiling water into the bow. Stir until the flakes have all dissolved, and then set the bowl aside.
  2. In the quart mason jar, or other storage container, measure equal parts of coconut oil, beeswax and Shea butter. Place the jar into a small pan, and fill the pan with approximately 1 inch of water. Place the pan, with the jar, into the stove and turn the heat to medium high.
  3. Allow the ingredients in the jar to melt, swirling the jar occasionally. When all the ingredients within the jar are fully melted, remove it from the pan and allow it to cool on the country for approximately 5 minutes.
  4. Pour the dissolved magnesium prepared in step 1 into the jar. This may cause it to solidify upon contact, do not allow that to concern you. If desired, add essential oils. Place the immersion blender at the bottom of the jar, blending the contents completely.
  5. Apply the magnesium lotion to your skin, all over your body, about an hour before bed each evening for a relaxing, restful sleep!

How to Get Rid of a Headache Without Pills

by May 23, 2017

Approximately 45 million Americans suffer from headaches each year. That means that 1 in every 6 people is left trying to find a solution to headaches that interfere with their daily lives.

The first instinct, for many, is to turn to over the counter painkillers. With no other solution that they are aware of, painkillers become a regular staple in their lives, however this is a dangerous dependency!  Long-term use of painkillers has been shown to cause damage to the liver, even resulting in liver failure.

Aware of the potential risks, Americans are on the search for a natural alternative to bring them headache relief.

headaches, acupressure, pressure points

Acupressure is an alternative medicine technique based on the concept of life energy, and the way in which it flows through the body. Physical pressure is applied, by hand or various devices, to key points in the body with the aim of clearing up blockages in the flow of this energy. It has been shown to be effective in treating nausea, vomiting, lower back pain, stomach aches, and – you guessed it – headaches!

Unlike some alternative medicine techniques, acupressure doesn’t require a medical professional. It can be done on your own, in the comfort of your own home. Find a comfortable place to sit, and then gently apply pressure to the correct acupressure points for approximately 30 seconds at a time. Use the below pressure points and you will begin to feel relief from your next headache in approximately 5 to 10 minutes.

Yintang Point

headaches, acupressure, pressure points

The Yintang Point is located between the eyebrows, in line with the bridge of the nose. Also referred to as the 0.33 eye factor, this pressure point can also provide relief for eye fatigue.

Zan Zhu Points

headaches, acupressure, pressure points

The Zan Zhu Points are located at the base of the inner edge of the eyebrows, on each side of the bridge of the nose. This pressure point has also been found to treat nasal congestion and improve vision.

Yingxiang Points

headaches, acupressure, pressure points

Located upon the dimple under each cheekbone, the Yingziang Points can provide relief for stress, headaches and toothaches.


Tian Zhu Points

headaches, acupressure, pressure points

The Tian Zhu Points are located at the base of the spinal column, upon the back of the head. Massaging these points has been shown to relieve ear and eye pain, headaches, migraines and nasal congestion.

Shuai Gu Points

headaches, acupressure, pressure points

Located around the temples, approximately 2-3 cm from the start of the hairline, the Shuai Gu Points have been found to help treat eye fatigue.

Experts Warn That Viral Video of Woman Getting Rid of a Tick With Peppermint Oil is Incredibly Dangerous

by May 23, 2017

As summer begins it brings with it sunny weather, camping, bonfires, hiking and ticks. These small arachnids are parasites, living off the blood of both human beings and animals. If the image of these creatures wasn’t enough to cause concern, they are known to transmit up to 12 different diseases, including Lyme Disease.

Lyme Disease is a bacterial disease, characterized by a circular rash, that represents a bulls-eye. It is caused by a bacterium called Borrelia Burgdorferi, regularly transmitted by deer or black-legged ticks. The disease presents itself with flu-like symptoms in its early stages, such as fatigue, fever, loss of appetite and headaches. If it is caught early, it can usually be completely treated with a round of antibiotics, however if is not caught sufferers can experience symptoms years after the infection.

This long-term condition is called Post-treatment Lyme Disease Syndrome (PTLDS). PTLDS was once a largely unknown condition, however a growing number of celebrities are now lending their voice to the cause. Among those that are helping to raise awareness are model Bella Hadid, singer Avril Lavigne and TV personality Kelly Osbourne.

tick, tick removal, lyme diseaseThe CDC reports that approximately 30,000 cases of Lyme disease are reported in the United States each year. The longer that the tick is attached to its host, the higher the chance is that it will pass on the bacteria if it is a carrier. In most cases the tick would have to remain attached for 36 to 48 hours to transmit the disease. For this reason, it is important that we educate ourselves on the best way to remove a tick should we find one.

Recently a woman posted this video, sharing how she was able to use peppermint oil to quickly remove a tick from her skin. It shows her dropping a couple drops of the oil upon the tick, and within 20 seconds the tick burrows out of the skin. Sounds too good to be true, right?

Tick and disease experts are warning people NOT to employ the oil trick due to potential complications. While it does remove the tick, it can pose additional health risks.

Dr. Neeta Connally, assistant professor of Biology at Western Connecticut State University warns that aggravating the tick with the oil can cause them to secrete saliva, speeding up the spread of the disease-causing bacteria. She explains, “We don’t want to agitate the tick at all because many carry all sorts of diseases. Those are actually salivated into the body when the tick attaches and so we don’t’ want to agitate the tick in any way that is going to make it salivate more and thereby be more likely to transmit anything into you that may make you sick.”

The Center for Disease Control (CDC) provides the following steps to safely remove a tick:

tick, tick removal, lyme disease

  1. Use fine-tipped tweezers to grasp the tick as close to the skin’s surface as possible.
  2. Pull upward with steady, even pressure. Don’t twist or jerk the tick; this can cause the mouth-parts to break off and remain in the skin. If this happens, remove the mouth-parts with tweezers. If you are unable to remove the mouth easily with clean tweezers, leave it alone and let the skin heal.
  3. After removing the tick, thoroughly clean the bite area and your hands with rubbing alcohol, an iodine scrub, or soap and water.
  4. Dispose of a live tick by submersing it in alcohol, placing it in a sealed bag/container, wrapping it tightly in tape, or flushing it down the toilet. Never crush a tick with your fingers.

Homemade Non-Toxic, Full-Spectrum Coconut Oil Sunscreen

by May 23, 2017

The American Academy of Dermatology (AAD) states that 1 in 5 Americans will develop skin cancer in their lifetime. With one of the most widely known and accepted causes of skin cancer being over exposure to the sun, and the presence of sunburns, the AAD recommends sunscreen as the best course of protection.

When asked who should use sunscreen, the AAD states, “Everyone. Sunscreen use can help prevent skin cancer by protecting you from the sun’s harmful ultraviolet rays. Anyone can get skin cancer, regardless of age, gender or race.”

sunscreen, coconut oil sunscreen, natural sunscreen

There is a large movement among Americans to select healthier, more natural alternatives to many of the chemicals that we use in our day-to-day lives. As we educate ourselves on the chemicals present in our products, the high number of toxic chemicals found in sunscreen raises many flags. Rather than continuing to rely on these questionable products, we have found a natural alternative, first shared by Jessica Espinoza at Delicious Obsessions.

This all natural sunscreen begins with a base of coconut oil. Many oils that have been used in natural skincare have their own inherent sun protection factor. While the level of SPF varies depending on the oil, and coconut oil is slightly lower with an SPF range of 4-10, the addition of zinc oxide will provide enough protection to produce a full spectrum sunscreen with the ability to protect the body against both UVA and UVB rays.

All the ingredients listed below should be available at your local health food store, or online.

Homemade Coconut Oil Sunscreen by Jessica Espinoza

sunscreen, coconut oil sunscreen, natural sunscreen

Ingredients:

  • 1/4 cup coconut oil
  • 1/4 cup shea butter
  • 1/8 cup sesame or jojoba oil
  • 2 tbsp. beeswax granules
  • 1-2 tbsp. zinc oxide powder (optional)
  • 1 tsp. red raspberry seed oil 20-30 drops
  • carrot seed essential oil
  • Essential oils of your choice (lavender, rosemary, vanilla, and/or peppermint are nice)

Instructions

  1. Using a double boiler (or a small pan over very low heat), melt your coconut oil, sesame or jojoba oil, beeswax, and shea butter together. The beeswax will be the last to melt.
  2. When the beeswax is melted, remove the mixture from the heat and let cool to room temperature. If you’re using zinc oxide, whisk it in at this point, being careful not to create a lot of dust. If there are some lumps, that’s OK. They will break up when you whip the body butter in step 4.
  3. Move the mixture to the fridge for 15-30 minutes. You want it to start to set up, but still be soft enough to whip.
  4. Take the mixture out of the fridge and using a stand mixer or hand mixer, start to whip it. Drizzle in the red raspberry seed oil, the carrot seed oil, and any essential oils of your choice, and continue whipping until the mixture is light and fluffy.
  5. Use as you would any regular sunscreen. Application rates will depend on your activity and exposure to water. Store in a glass container in the fridge between uses.

Psychologists Say Your Birth Order Reveals A Lot About Your Personality

by May 23, 2017

Despite being born to the same parents; psychologists say your birth order plays an important role in your personality development. Recent studies show that your birth order is as important as your gender, and even your genetics, in determining your personality.

Alfred Adler, a friend of Sigmund Freud, began the study into the impact of birth order over one hundred years ago. Today, Dr. Kevin Leman, psychologist and author of ‘The Birth Order Book: Why You Are the Way You Are continues to research just how the order in which you are born shapes your personality. He stated “The one thing you can bet your paycheck on is the first-born and second-born in any given family are going to be different.”

Child and family therapist Meri Wallace explained, “Some of it has to do with the way the parent relates to the child in his spot, and some of it actually happens because of the spot itself. Each spot has unique challenges.”

The question remains, just how well can your birth order predict your personality?

The First-Born Child

birth order, personality, psychology

The first born in the family are natural born leaders. Often finding themselves taking care of the other siblings in their family, the develop a strong sense of responsibility for others. They are reliable, structured, controlling and conscientious. They are the over achievers of the group. Basically, they are mini adults!

First born children seek approval. They are perfectionist, and can often be found working in the fields of law, medicine or business as a CEO.

The Middle Child

 birth order, personality, psychology

The middle child most often acts as the peacemaker of the family. Understanding, cooperative and flexible, the middle child has had to learn to keep the peace between their siblings. Often feeling as though they are receiving less attention at home, middle children create an intimate circle of friends who act as an extended family.

Some well known members of the ‘middle child club’ include John F. Kennedy, Bill Gates, Abraham Lincoln, Winston Churchill and Steve Forbes.

The Youngest Child

 birth order, personality, psychology

The youngest child in the family is often pampered, receiving more attention from their parents than any other child in the family. Having learned their way around the parenting game, parents are often more lenient, allowing the youngest child to get away with far more. Having grown up with less responsibilities and fewer rules, the youngest child is often creative, and the life of the party.

Youngest children most often find themselves in careers in the entertainment industry, such as actors, comedians, directors or writers.

The Only Child

birth order, personality, psychology

Much like the youngest child, only children are often overly pampered. The difference is that their parents, with no other children to focus on, are also overly protective. As such, only children tend to be dependent and self-centered. They are used to their parents lavishing them with all their attention, and struggle to accept that they aren’t the center of the world for everyone else the encounter.

Having grown up surrounded by adults, they do mature rather quickly. They are creative, resourceful and highly intelligent.

Italy Is Giving Away Old Castles For Free, And Here’s How You Can Get One

by May 22, 2017

While many of us have probably dreamed of owning a castle, the majority of us have realized it would never happen and moved on to more achievable dreams. However, in a turn of events, Italy has made the possibility of making your dreams come true quite simple.

And it’s not just castles, either. Italy is giving away over 100 historic buildings including castles, farmhouses, and monasteries in order to bring life to abandoned public buildings. Of course, there is a catch. In order to get your very own *squeals* castle, you have to pledge that you will renovate it.

Furthermore, they want the buildings to be something to bring diversity to Italy’s tourism industry. Basically, you would have to turn the building into something that attracts tourists such as a hotel, restaurant, spa, or shop.

“The project will promote and support the development of the slow tourism sector,” Roberto Reggi from the State Property Agency told The Local Italy. “The goal is for private and public buildings which are no longer used to be transformed into facilities for pilgrims, hikers, tourists, and cyclists.”

The plan, which was backed by Italy’s Ministry of Tourism requests that anyone who is interested should submit a proposal explaining how they would change their preferred building into something that would draw the attention of tourists. However, special preference will be granted to anyone under the age of 40.

The buildings are located in various places in Italy, with many of them scattered throughout the country in remote places. So, if you have always longed to pack your bags and take off to a luxurious castle far away, now is your chance. Just make sure you take your business plan with you.

Subscribe to our newsletter

Lorem ipsum dolor sit amet, consectetur adipiscing elit. Proin porttitor nisl nec ex consectetur.